Budget Kitchen Makeover // The Process
Yesterday I revealed our before and after budget kitchen reno. Today, I'm sharing how we got there.
As I mentioned, the whole project took about five, full weekends because there were a lot of cabinet doors to reface, and we didn't even do the uppers! But seriously, all the work was totally worth it.


We refaced the cabinets in four phases, because there were just so many, but we followed the same steps each time.
Supplies:
hand sander, I use this Skil model
miter saw, my new toy, I bought for this Ryobi model for this project
drill
trim, I used 1 3/8" wide x 1/4" thick and it is not real wood, it's synthetic and super light
clamps, I needed these for the couple doors that I couldn't take down and had to add the trim while they were still hanging
sand paper
paint, I used Decorator's White by Behr in semi gloss
paint supplies, including a small roller and angled brush
spray paint, I used matte black
Steps:
Remove all the doors
patch the old hardware holes (you don't have to do this if you are using the same hardware or if your new hardware happens to fit, though if adding trim, it's more than likely)
Once the putty is dry, sand the entire door (we use the electric)
measure (twice) and cut trim
glue trim to doors
once dry (at least 4 hours), give another light sand with sand paper
paint, took about 3 coats (sorry, forgot to take photos)
simultaneously, spray paint hinge hardware and visible screws
once the paint is completely dry (overnight), drill holes and put on the new hardware
after a day or two, so they don't stick and chip, rehang the doors

One of the big problems I faced was these curved drawer faces. I ended up sanding them down as best I could, and using extra glue to fill in the gaps. Be sure to wipe away the excess right away.

Second problem was that the screws one these doors were striped and painted over so many times, that I couldn't remove the doors. So I had to sand and add trim inside the house (read: big mess)
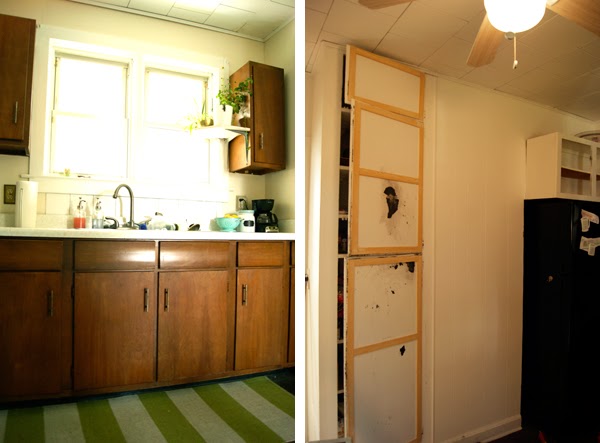
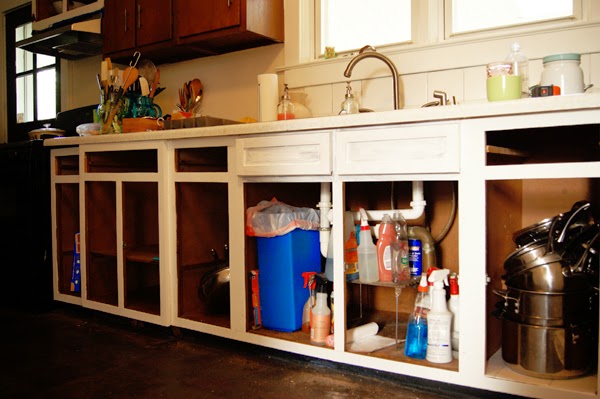
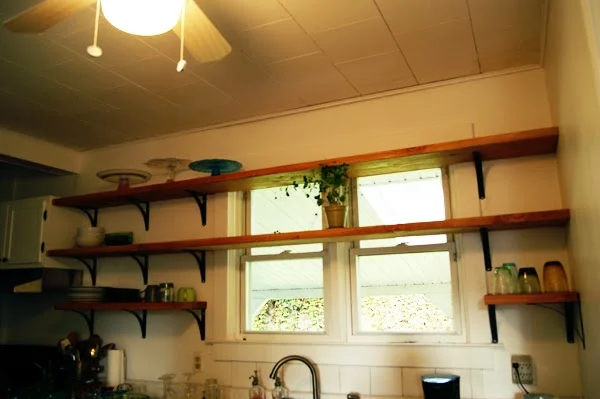
Progress photos. Warning: the insides of the cabinets are scary!


And there you have it, the progress pics. Tomorrow I will show how I did the paneling doors on the peninsula.